An Edgee project is an edge computing application, that operates across all
our available edge locations.
Each service within your project is rapidly propagated to all our
Points of Presence (PoPs) around the world, ensuring changes take effect in seconds.
Creating a new Project
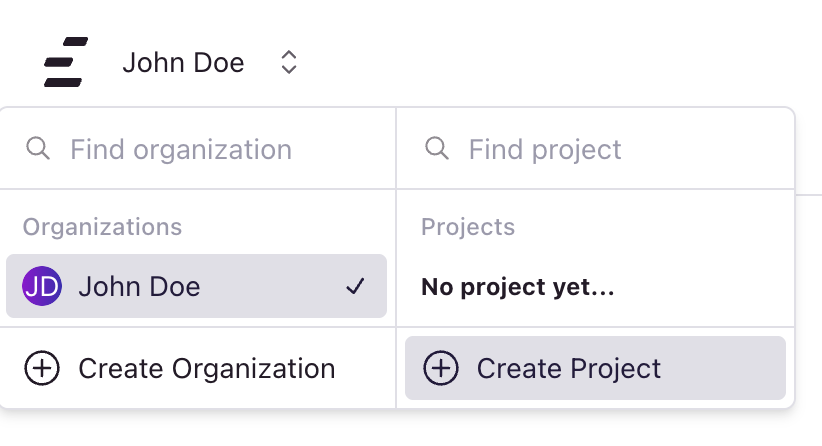
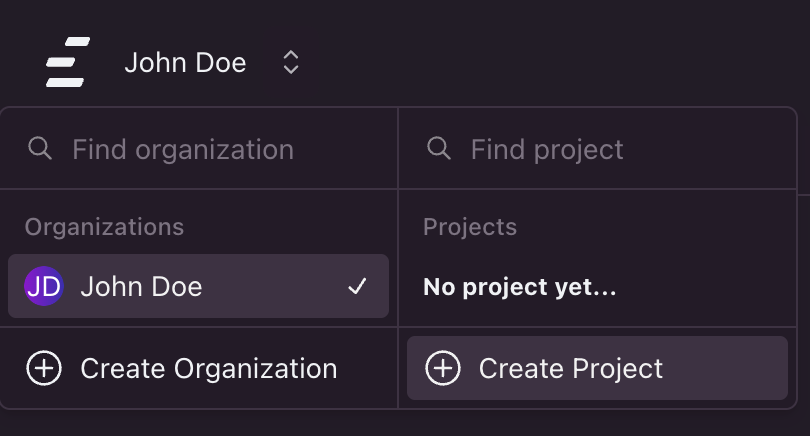
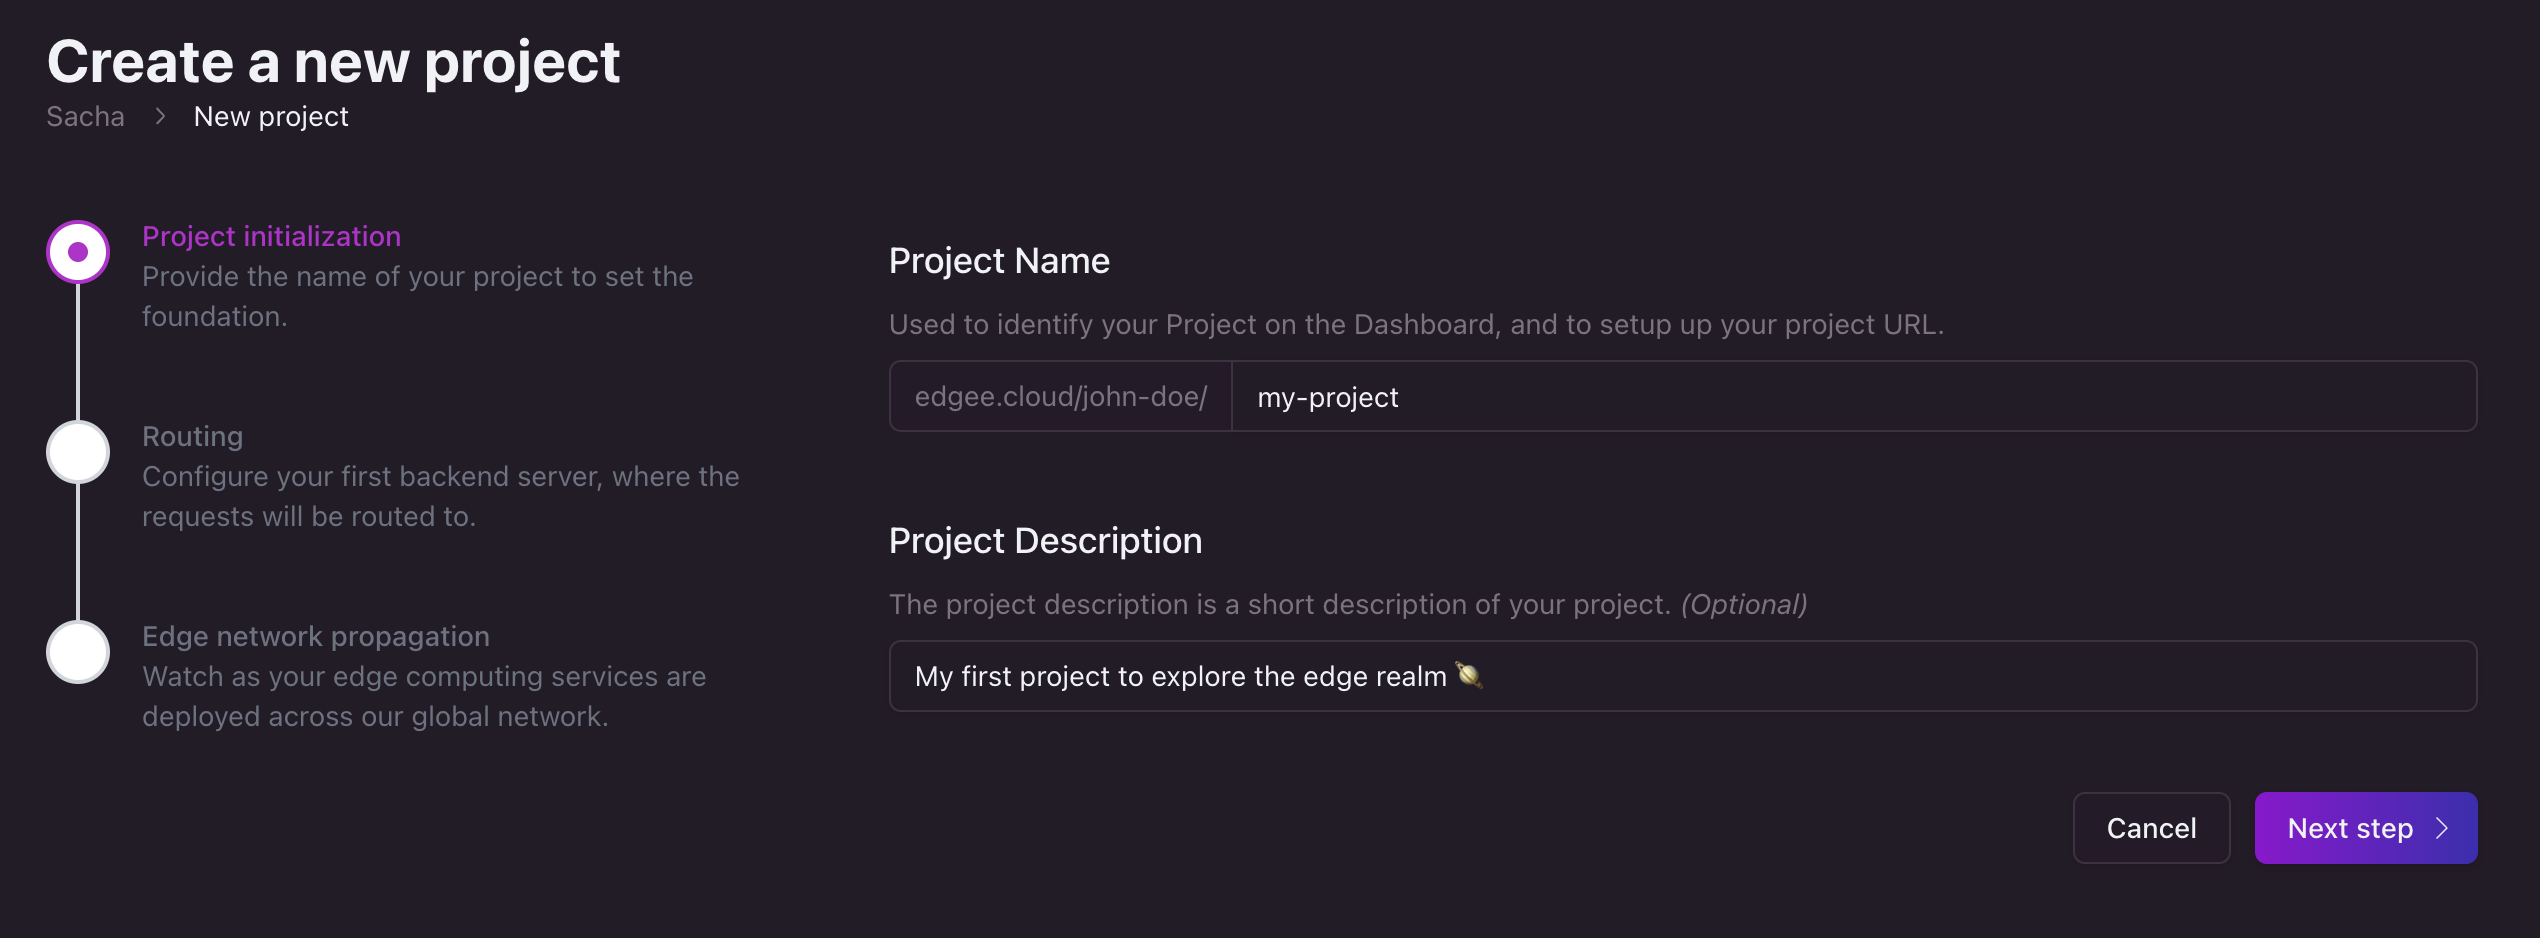
To create a new project, use the top-left menu and click Create project.
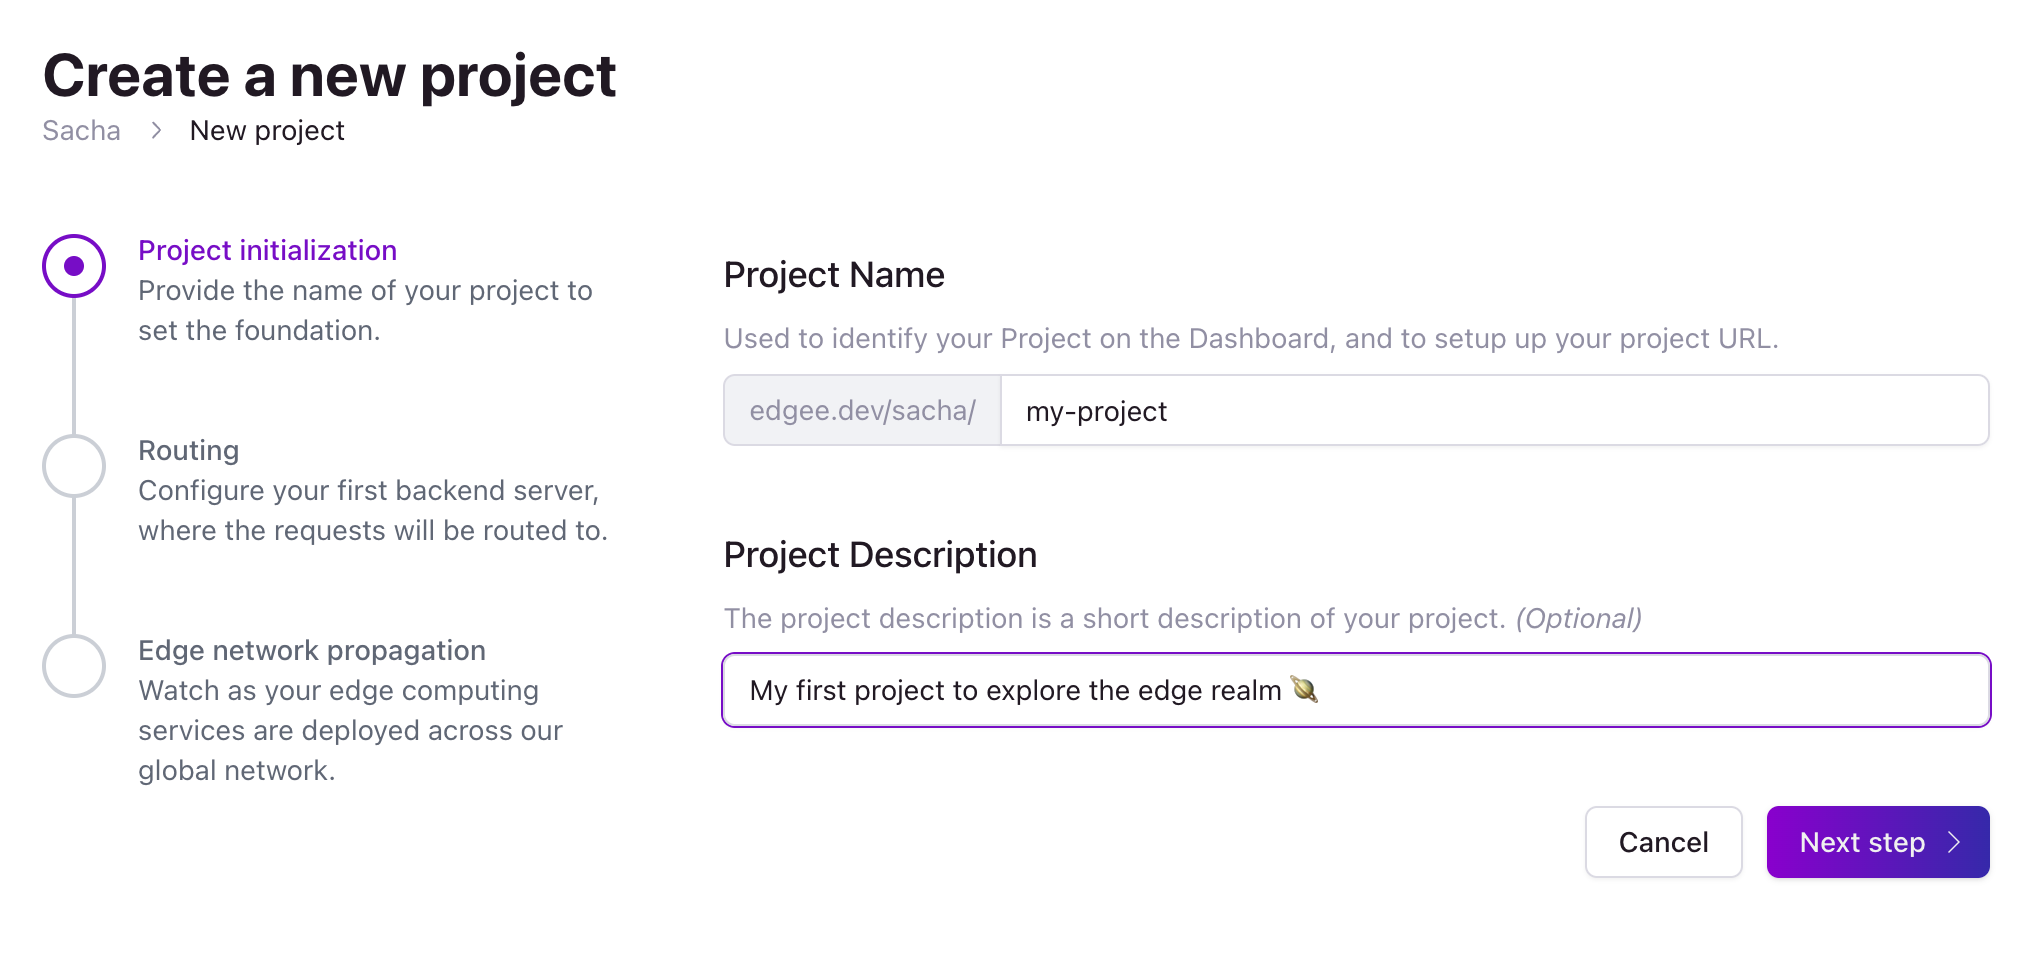
 Your project name serves as a unique identifier and will be part
of your project’s URL. Optionally, add a description to help you and your team remember the project’s purpose.
Your project name serves as a unique identifier and will be part
of your project’s URL. Optionally, add a description to help you and your team remember the project’s purpose.
Can I add my own URL?
Yes of course, don’t worry! We’ll get there after step 3.
Step 2: Set up the first routing rules
Edgee acts as a reverse proxy, meaning it receives requests and directs them to designated
origin based on your routing rules.
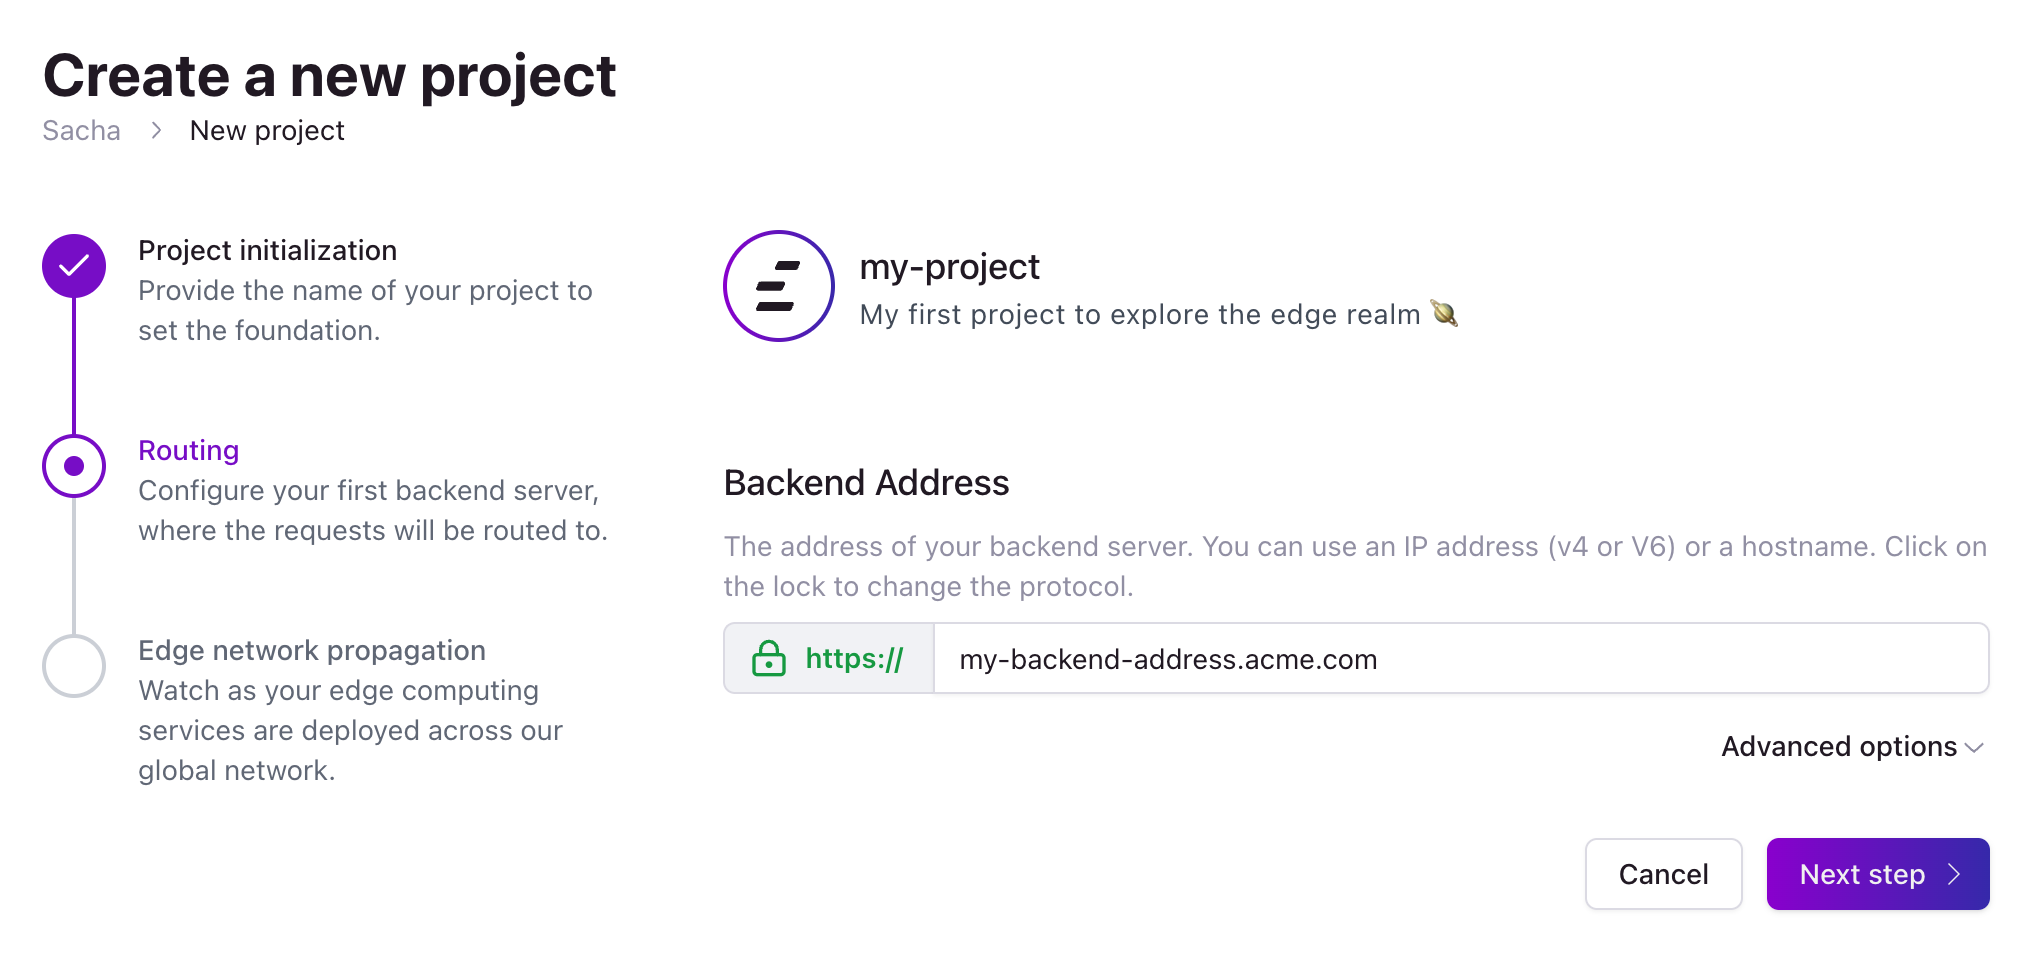
 Let’s set up your first routing rule:
- Select the protocol (
HTTP or HTTPS) by clicking on the protocol field.
- Enter the address of your website. It can be either a hostname or an IP address (v4 or v6).
 Beneath the address field, you find an accordion for advanced routing options.
For detailed guidance on all available routing options and advanced rules, please visit our routing rules documentation.
Beneath the address field, you find an accordion for advanced routing options.
For detailed guidance on all available routing options and advanced rules, please visit our routing rules documentation.
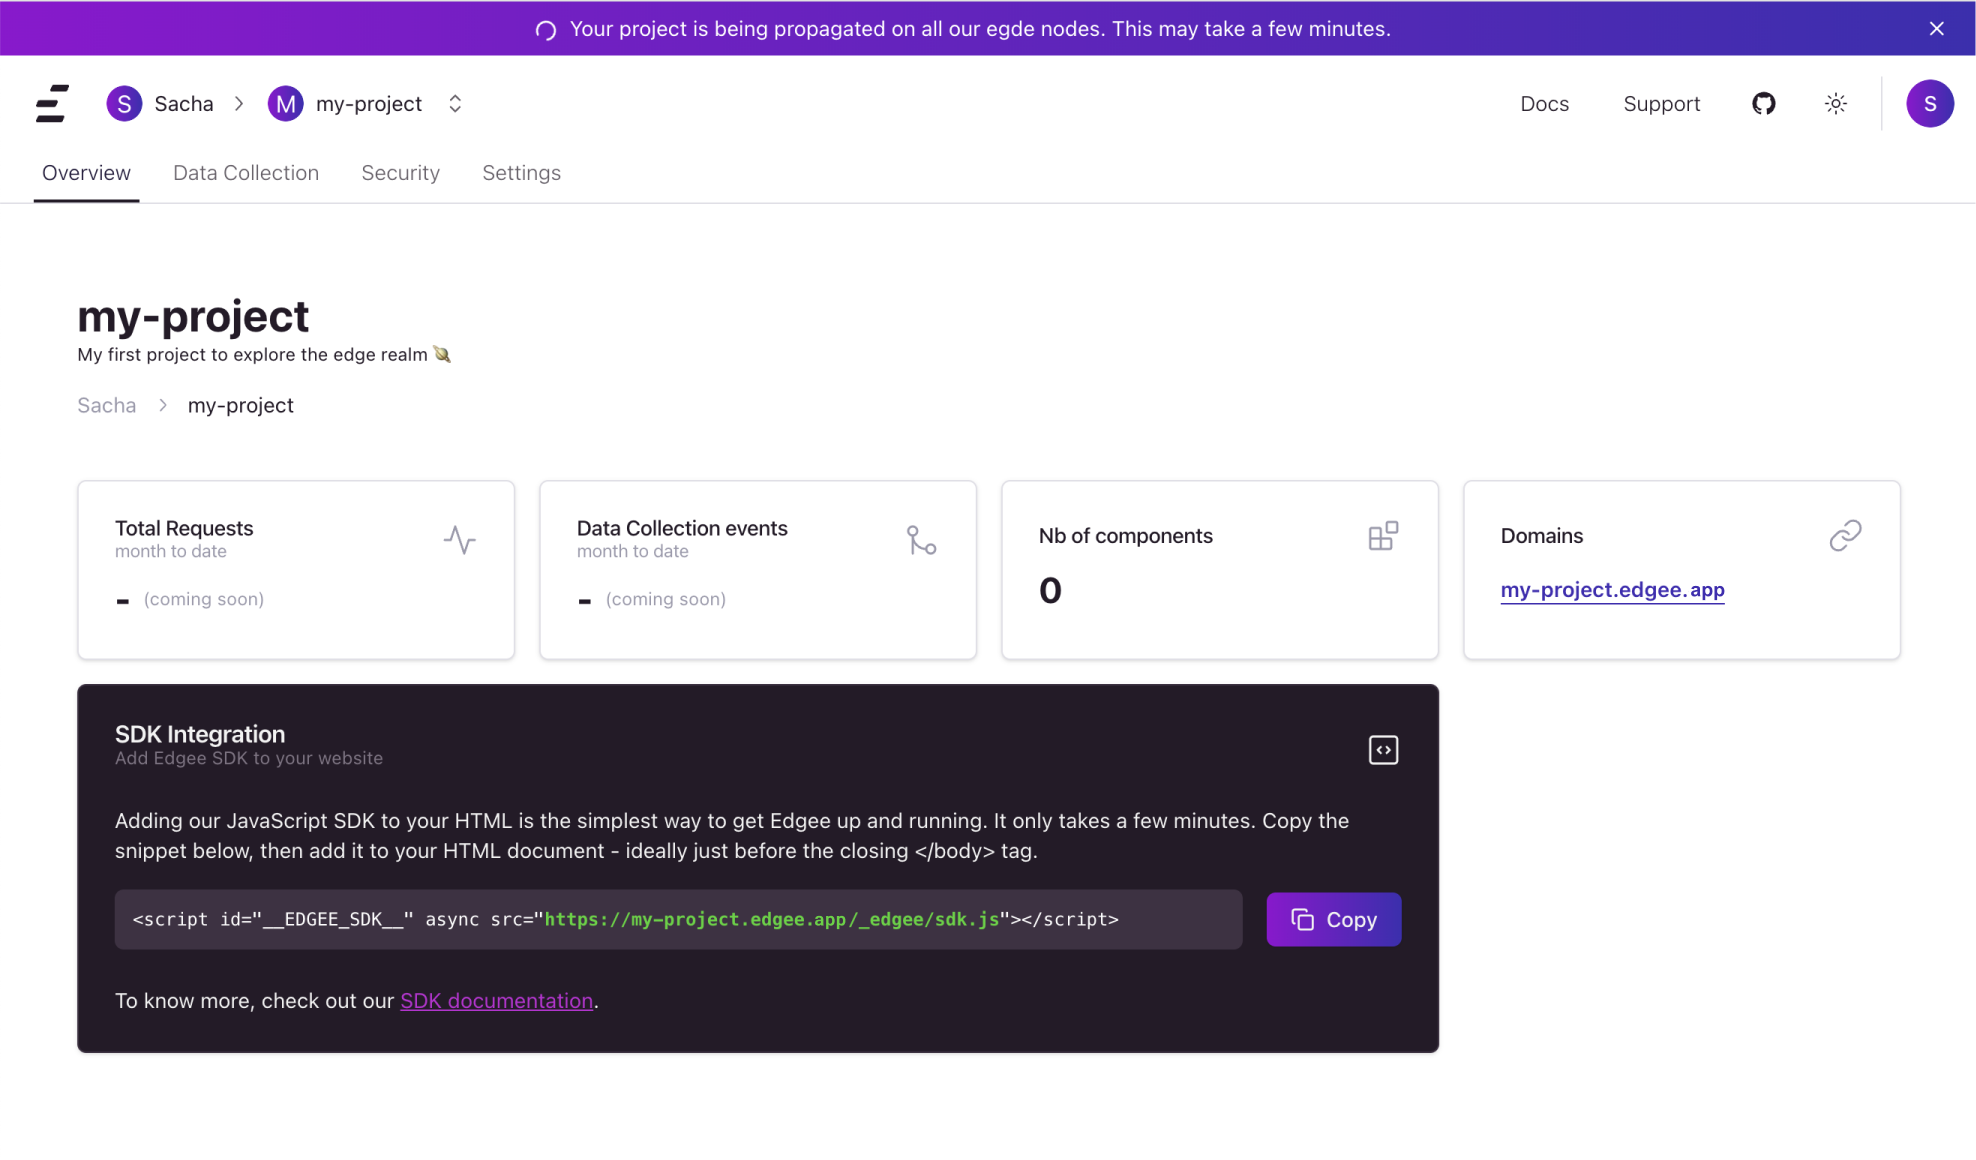
Step 3: Project propagation
Congratulations! Your project is now configured and is being propagated across our
edge network. We have automatically assigned an .edgee.app domain to your project.
Use this domain to test and ensure your project is functioning as expected.
Create a dedicated project for each environment
We strongly recommend to create a dedicated project for each environments (prod, staging, dev) to avoid issues in production while experimenting.
Next steps
Routing settings are used to specify how Edgee should handle routing for your project.
To create custom routes, navigate to the Settings panel in your project dashboard and select Routing.
To know more about how to set up new rules, you can read the routing documentation.
Adding Your Own Domain (optional)
You can associate multiple domains to your project and Edgee will take care of generating certificates and handling the renewal process.
To add or edit domains, navigate to the Domains card in your project dashboard.
To know more about how to set up a domain, you can read the domains documentation.
Integrate the Edgee SDK
Once your domain is set up, the final step is to integrate the Edgee SDK into your website.